
Crafty Campers
New ideas to keep activity time fresh
By Silvana Clark
Let’s face it--almost every young camper has made a Popsicle-stick pencil holder, but there comes a time for them to try their hand at some slightly different (and easy) craft projects. Here are some ideas that allow kids to be creative and make something they probably haven’t made before.

© Can Stock Photo Inc./mikelane45
Tic-Tac-Toe Bugs
Set out 100 or so plastic spoons. Fill each spoon with Plaster of Paris. Add a piece of yarn or embroidery floss to the wet plaster to form antennas. Let dry overnight. Give the spoons a “pop,” and the plaster releases … in the form of a bug! Give each camper six bugs to use as playing pieces for a game of tic-tac-toe. Make sure each camper decorates his or her six bugs so they look as alike as possible. Use permanent markers for best results.
After the bugs are decorated, distribute pieces of cardboard with tic-tac-toe grids on them. Pair up campers and allow them to play the games using their bugs as markers.
CD Spinners
Decorate a CD in a spiral pattern using permanent markers or puffy paint. The paint should be dry before moving on to the next step. Using hot glue or tacky glue, attach a marble to the center of the undecorated side of the CD. Glue a milk-carton cap or water-bottle cap to the center of the painted side. This forms a spinning handle. After the glue has dried, place your CD on a smooth surface. Hold on to the bottle top and give it a quick twist. The CD spinner will spin and spin!
Decorating A Toilet
Here’s a great craft project for the entire camp. Obtain some old toilets, either from a camp remodeling project or a recycling center. Select a few lucky counselors to hose down the toilets. Give each cabin or group a toilet to decorate. A panel of counselors can judge campers’ wacky creations. Make a modified bowling alley with the toilets, and let campers take turns rolling a bowling ball down the lane to destroy the toilets. All the broken pieces can be sent to a recycling center.
Giant Milk-Jug Igloos
This is a great all-camp project. Collect 200 to 1,000 empty plastic milk jugs. Rinse them thoroughly with soap and water. Position the bottom layer in a circle to determine the size of the igloo. For stability, fill the bottom jugs halfway with water. Use hot glue to attach additional milk jugs, layer after layer. Bring each row of milk jugs 2 to 3 inches “inward” to make the igloo shape. For a quick reference, do an Internet search for milk-carton igloos for videos and instructions galore! Campers will love sitting inside their plastic igloos. If you have a different group of campers each week, take apart the igloos and reuse the milk jugs as new campers arrive.
When finished with igloo making, cut the milk jugs in half and have campers decoupage the outside bottom half with tissue paper. Fill each jug with a few inches of sand or dirt, and add a votive candle for a safe luminara.
Stylish And Silly Styrofoam Heads
Give each camper a Styrofoam wig head to decorate with paint, markers, ribbon, and sequins. If boys are reluctant to make this
craft, suggest they decorate their mannequin head to look like a superhero. “Tween” girls love this project because they can actually poke their earrings into the head and use it as a jewelry holder.
A Shoe Planter: Are there any extra shoes in the lost and found? Have campers use papier-mâché to wrap around each shoe. Make this a weeklong activity, allowing the papier-mâché to dry between each layer. Then simply paint, cover with a coat of decoupage, and add a glass jar for a planter. This is one of those craft projects moms love and will never throw out!
Silvana Clark has more than 20 years’ experience helping thousands of children create arts and crafts projects. She presents keynotes and workshops on a variety of recreation-related subjects. She can be reached at (615) 662-7432 or via e-mail at silvanac@msn.com .
------------------------------------------------------------
ONLINE ENHANCEMENT
Here are two suggestions from Summer Nature Camp at Irvine in Owings Mills, Md.:
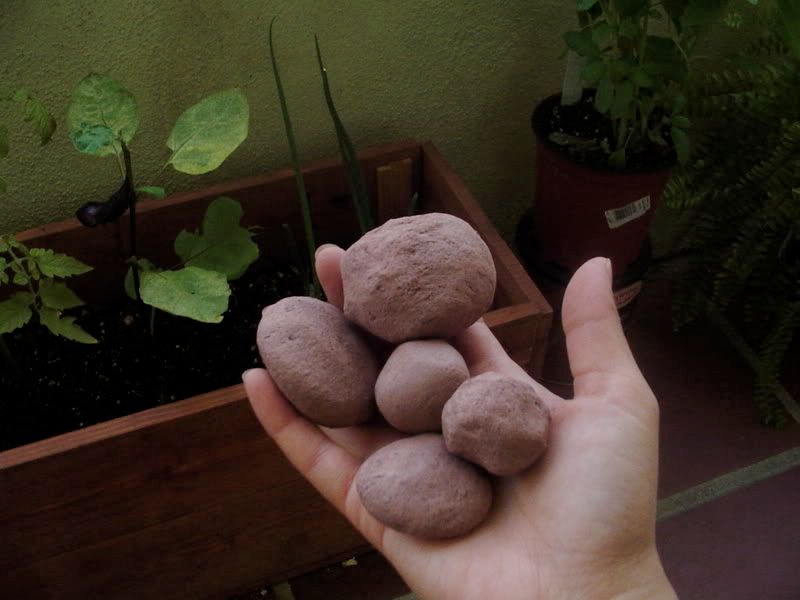
Seed Bombs
Each participant makes four or five seed bombs, each slightly larger than a gumball (for a reference, visit http://i5.photobucket.com/albums/y172/meminecaroline/DSC06495.jpg ).
Using a section of newspaper, have participants take a small scoop of “dirt” (one part clay, one part soil) and place it on their newspaper. Give everyone a tablespoonful of native wildflower seeds. Have the campers mix the dirt and seeds together. Then use a spray bottle of water to wet the mixture. Roll it into ball shapes. Set each one out to dry on a cookie sheet or newspaper (this usually takes a few hours in the sun). Once dry, throw the seed bombs wherever you wish. Add some time and rain, and see what grows!
Toad Abodes
You’ll need:
Small terra-cotta pots (around 4 inches)
Acrylic paints
Paintbrushes
Newspapers
Stones
Glue
A small spade.
Have campers decorate pots with nature designs and/or natural items, or whatever else comes to mind. A finished abode might look like this: http://www.blogcdn.com/www.diylife.com/media/2008/04/toad-house.jpg . Once the pot has dried, take it outside to a spot that’s in the soil, such as a flower bed that doesn’t get any pesticides. Next, take the spade, dig down in the soil a little ways, and bury the pot on its side, halfway into the ground. Leave the soil turned up; don’t pat it down. Now you have a toad house in the yard! If it doesn’t attract a toad, try moving it to a different location.